
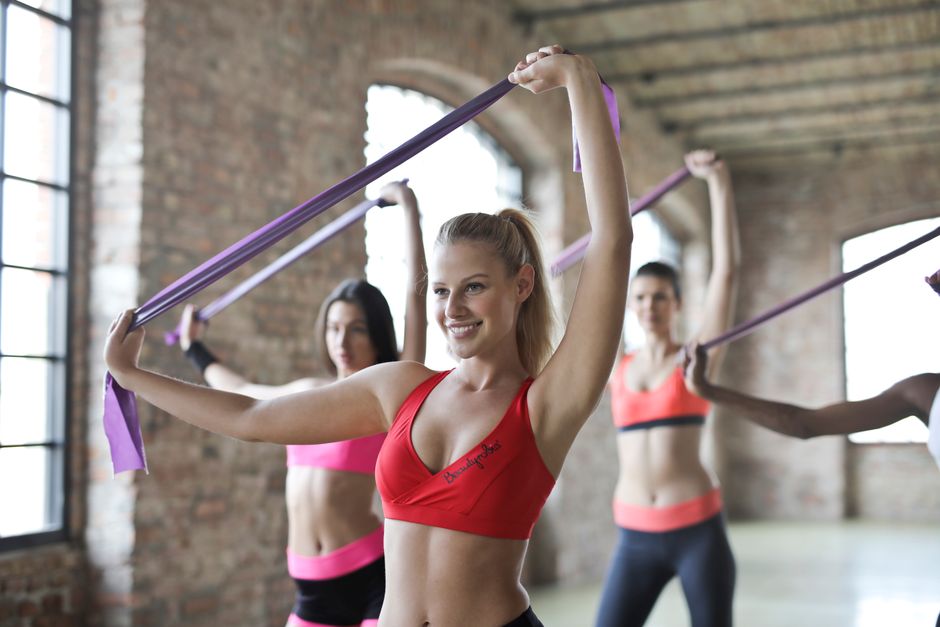
Can you build useful strength at home with a few elastic bands, or are they just a lighter version of gym equipment? You can build strength, improve balance, and train every major muscle group with bands if you control the movement and increase the challenge over time. The catch is simple: a band workout only works when you use enough tension, a full range of motion, and steady form.
This beginner plan covers why bands work, how to choose resistance, a 30-minute routine, the mistakes that cause stalled progress, and the situations where dumbbells or a gym make more sense.
Why resistance bands work for beginner strength training
Resistance bands solve a basic home-training problem: you need a force to push against, but you may not have room for a rack of weights. The band stretches as you move, so it creates tension without taking up much space. You can train your chest, back, legs, shoulders, arms, and core with one or two bands.
Elastic tension changes during the exercise
A dumbbell usually feels heaviest at a fixed point in the movement. A band feels lightest near the start and harder as it stretches. That rising tension can make the final third of a row, press, squat, or curl challenging. It also teaches you to finish each repetition instead of rushing through the easy part.
The trade-off matters. Bands do not provide the same load at every joint angle, so they may feel awkward during exercises that need steady resistance. They also lose tension if you anchor them too low, step too close, or let the material go slack between repetitions.
What bands can and cannot build
Bands can build muscle and strength when the set brings you close to technical failure. For a beginner, that may mean 8 to 20 controlled repetitions. You do not need to lift a heavy object to create a training effect. You need enough tension that the final two or three good repetitions require focus.
Bands cannot replace every tool. Heavy lower-body strength becomes harder to measure as bands stretch, and a band does not match the stable load of a barbell for maximum strength work. For general fitness, joint-friendly resistance, travel, and small-space training, bands are a strong choice. For very heavy squats or precise strength testing, free weights win.
How to choose band resistance and set up your space
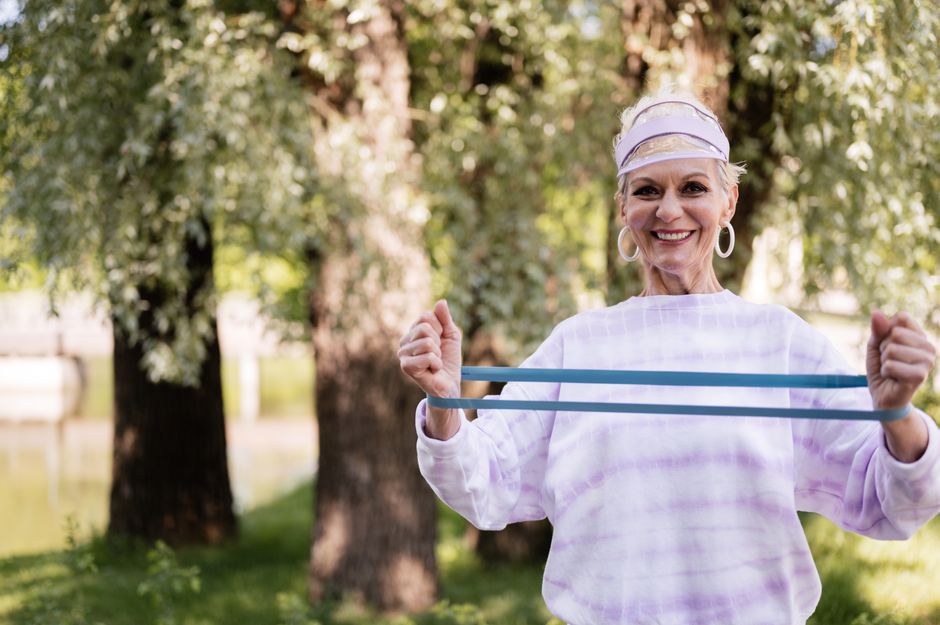
Start with a band that lets you complete the planned repetitions while keeping your joints aligned. A resistance level that makes the first repetition difficult often ruins the last half of the set. Beginner training works better when you can repeat the same movement with steady control.
- Choose a starting tension. For upper-body exercises, begin with a light or medium band. For squats, deadlifts, and glute work, use a heavier band or shorten the band by standing wider. The right choice leaves about two clean repetitions in reserve at the end of the set.
- Check the band length. A loop band should sit flat against the thighs, ankles, or feet. A tube band should create tension before the first repetition. If the band hangs loose at the starting position, move farther from the anchor or grip more of the handle.
- Inspect the material. Look for cracks, thin spots, fraying, or white stress marks. Latex can weaken with heat, sunlight, and skin oils. Replace a damaged band instead of testing it under tension near your face.
- Secure the anchor. A door anchor must sit on the closed side of a locked door. Keep the anchor above, beside, or below the handle based on the exercise. Pull gently before each set to confirm that it will not slide.
- Clear the floor. Remove rugs that move, furniture corners, and objects that can catch the band. Wear shoes for standing exercises and keep children and pets away from a stretched band.
- Test the first repetition slowly. Pause at the hardest point and return under control. If the band snaps toward you, twists around a joint, or changes position, stop and reset the setup.
Your body position changes the load more than many beginners expect. Standing farther from an anchor increases tension. A wider stance shortens a loop band. Holding the handles closer to your body reduces the challenge. Treat those adjustments as small weight changes.
What a 30-minute beginner band workout looks like
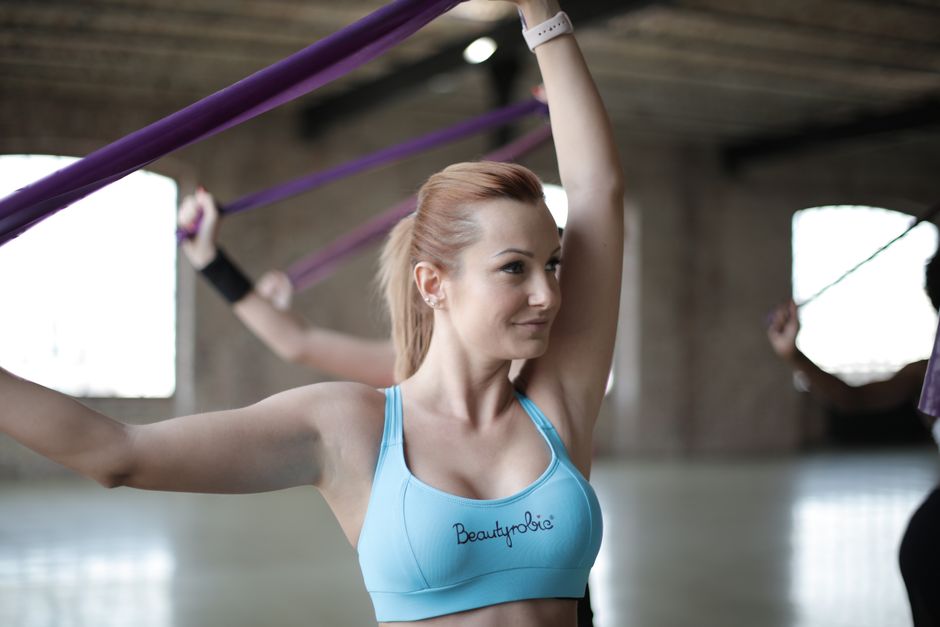
Use this session two or three times per week, with at least one rest day between hard sessions. Complete the warm-up once. Then perform the main circuit for two rounds during your first two weeks. Move to three rounds when you finish every repetition with stable form.
| Block | Exercise | Sets and repetitions | Rest |
|---|---|---|---|
| Warm-up | March in place, arm circles, bodyweight squats | 5 minutes | None |
| Lower body | Band squat | 2 to 3 sets of 10 to 15 | 45 seconds |
| Upper body | Standing band row | 2 to 3 sets of 10 to 15 | 45 seconds |
| Push | Band chest press or incline push-up | 2 to 3 sets of 8 to 12 | 45 seconds |
| Hips | Band Romanian deadlift | 2 to 3 sets of 10 to 15 | 45 seconds |
| Shoulders | Band overhead press | 2 sets of 8 to 12 | 45 seconds |
| Core | Band Pallof press | 2 sets of 8 to 12 per side | 30 seconds |
How to perform the main movements
For the squat, stand on the band with feet about shoulder-width apart and hold the ends near your shoulders. Sit down between your heels, keep your knees in line with your toes, and stand without leaning backward. For the row, anchor the band at chest height, pull your elbows behind you, and pause when your hands reach your ribs.
For the Romanian deadlift, stand on the band, hold the handles, soften your knees, and push your hips backward. Keep your back long and stop when your hamstrings feel stretched. For the Pallof press, stand sideways to the anchor, hold the handle at your chest, and press it straight ahead without letting your torso rotate.
How hard the workout should feel
The final repetitions should feel demanding but repeatable. Stop if your knees collapse inward, your lower back takes over, or the band pulls you off balance. A beginner does not need soreness to prove the session worked. Consistent training, clean repetitions, and gradual progression matter more.
How to progress without causing pain or stalled results
The strongest recommendation is to progress one variable at a time. Add repetitions first, then increase band tension, then add a set. Changing all three at once makes it hard to tell why your form broke down.
How many repetitions should you add?
Use a repetition range such as 10 to 15. When you complete 15 repetitions for every set with smooth form, increase the tension slightly and return to 10 repetitions. You can also slow the lowering phase to three seconds or pause for one second at the hardest point. Those changes increase difficulty without requiring a heavier band.
How do you know if pain is a warning sign?
Muscle fatigue feels like effort, heat, or a gradual loss of power. Sharp pain, joint pinching, numbness, or pain that changes your movement signals a problem. Stop the exercise and check your setup, range of motion, and band position. If the symptom continues outside the workout, seek advice from a qualified health professional.
What mistakes make band training less effective?
- Using a band that stays slack during the first half of every repetition.
- Letting the band snap back instead of controlling the return.
- Wrapping a band around the neck, a bare foot, or a sharp furniture edge.
- Training only the muscles that are easy to see, such as the chest and arms.
- Adding resistance before learning the movement pattern.
- Doing the same number of sets and repetitions for months without tracking progress.
Keep a simple log with the exercise, band color or resistance, sets, repetitions, and any pain. If you cannot describe how the session became harder over the last month, your program needs a clearer progression.
Medical Disclaimer: This content is for informational purposes only and does not constitute medical advice. Always consult a qualified healthcare professional before making health-related decisions.